
Project Management App Visual Guide
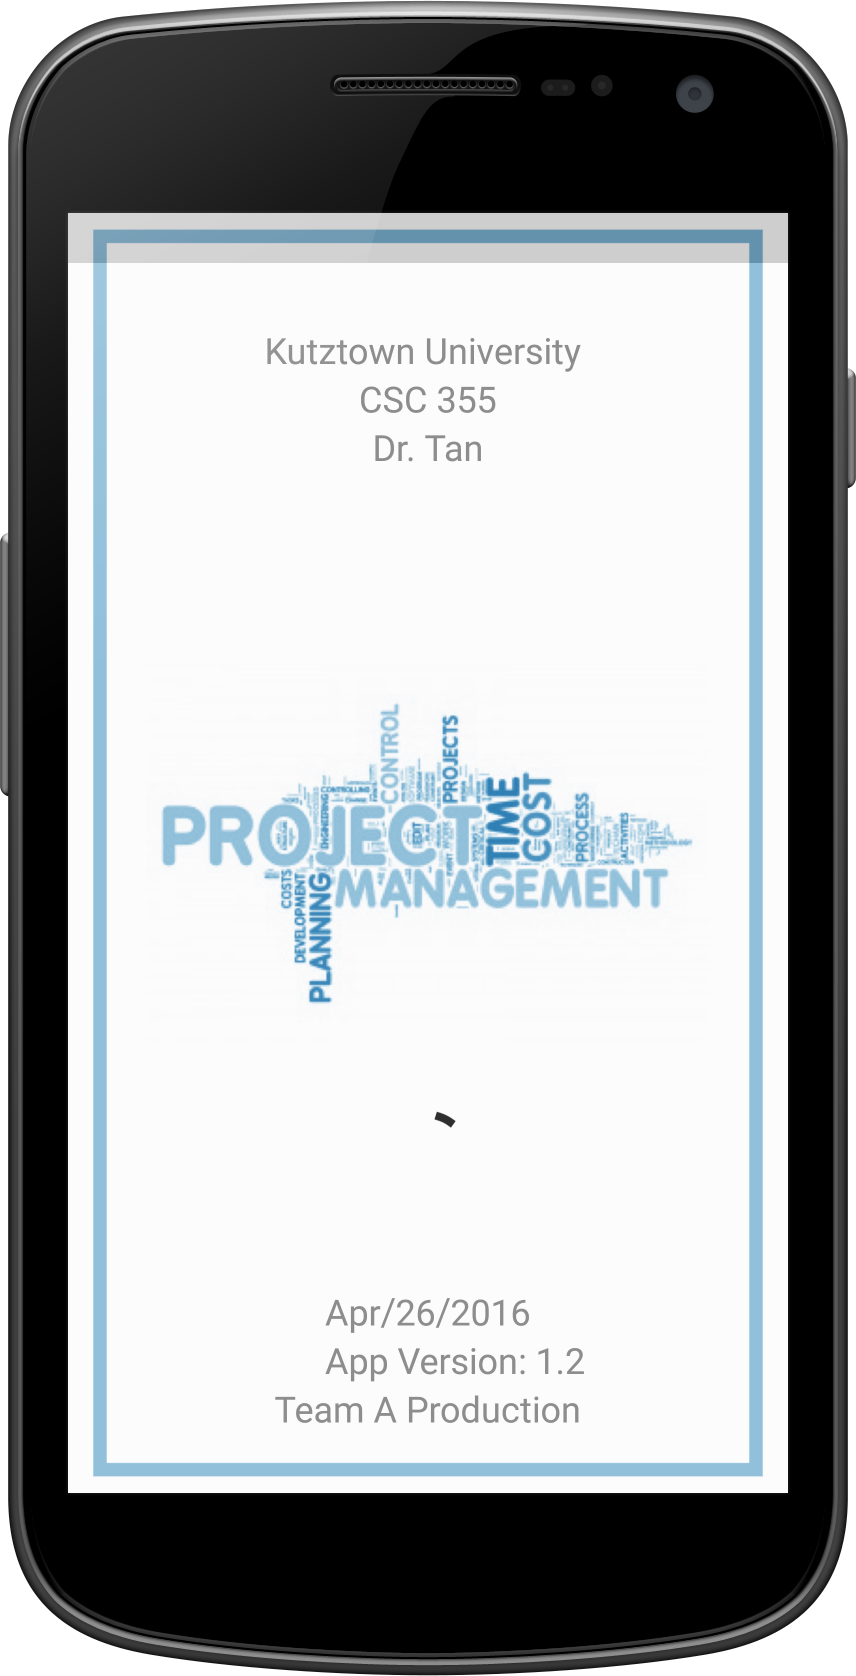
Splash Screen
The first screen seen when opening the application, this screen displays some information for the user as it checks if the server is running.
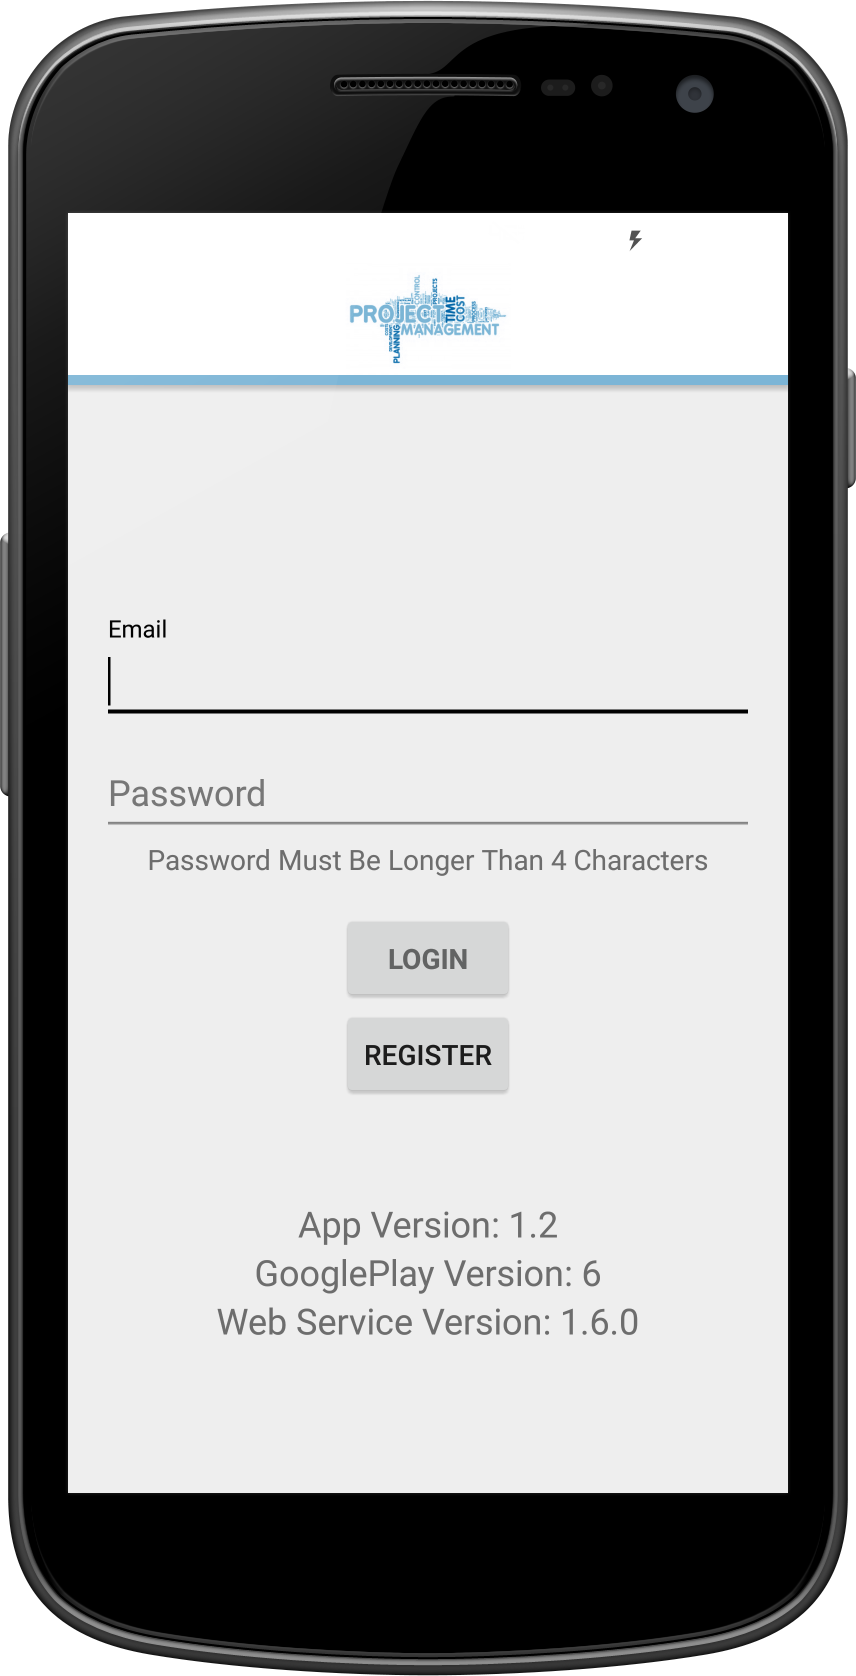
Login Screen
The first interaction with the application, the user can either register for a new account, or login with an existing account. Logging in will bring the user to their project screen.
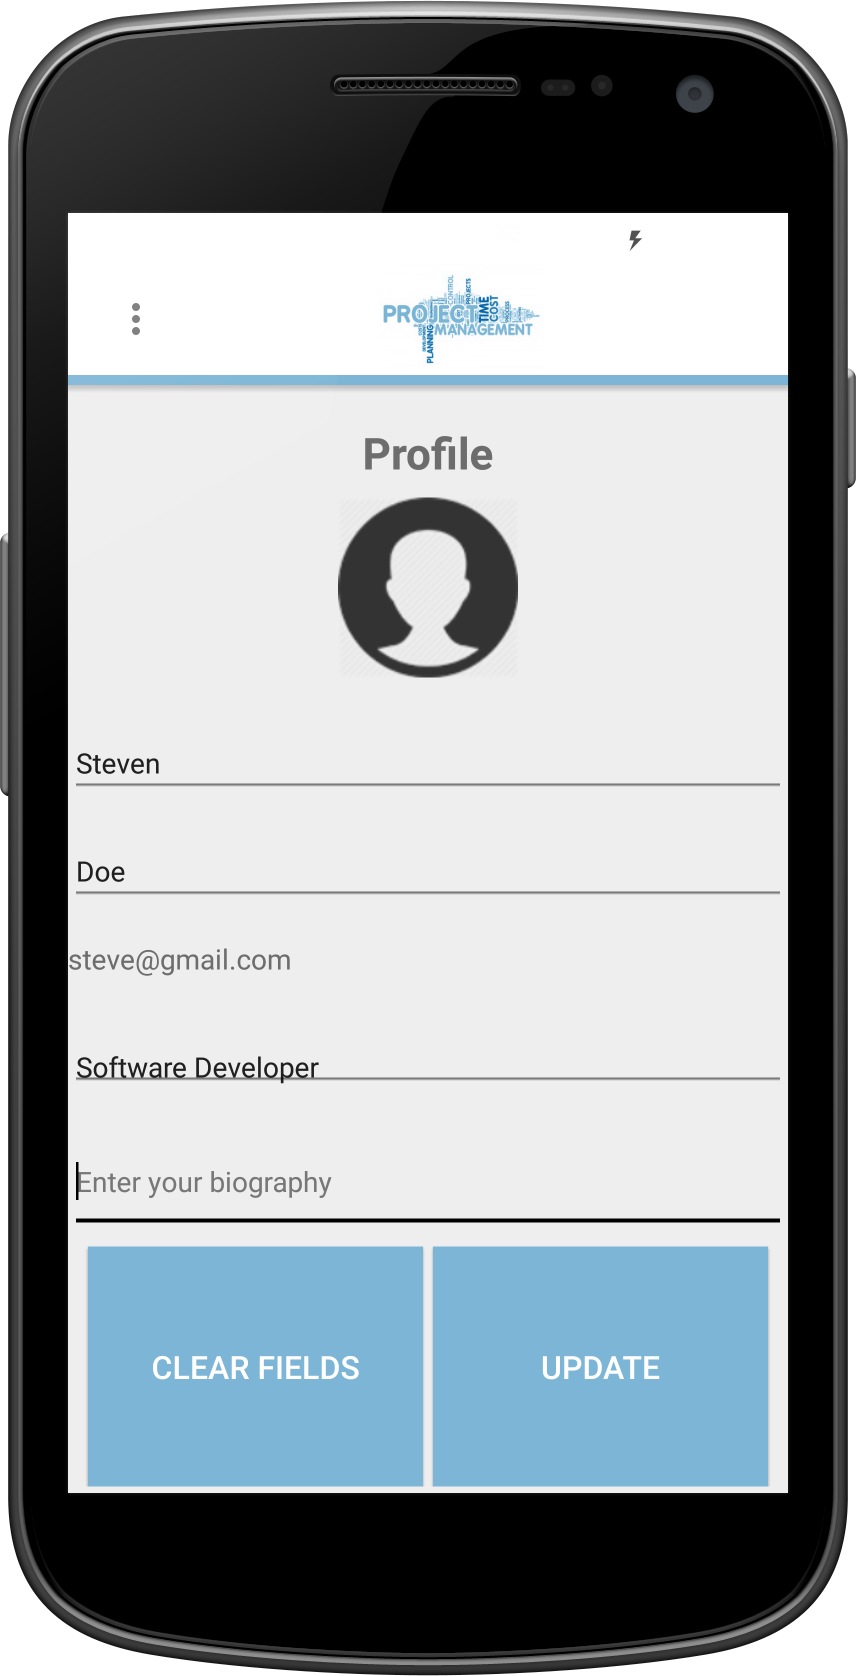
Profile
If the user registers for an account, they are brought to the profile screen to fill out a profile.
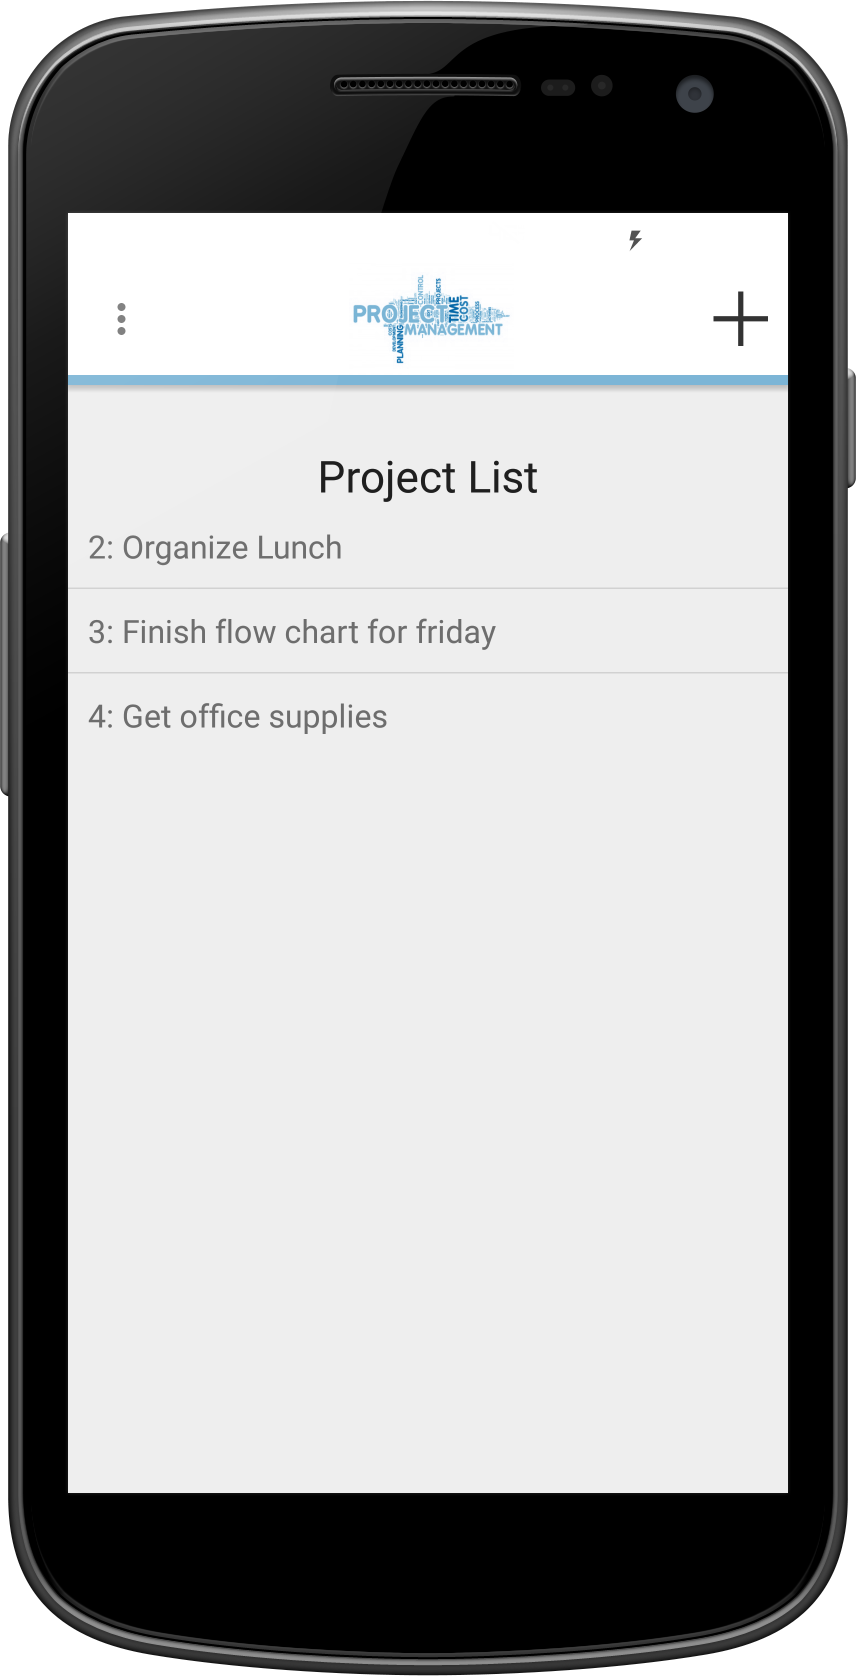
Project Screen
This activity lists all projects either created or joined by the user. The user can tap on a project to select it and enter its options page. The plus sign on the top right brings us to the create projects screen.
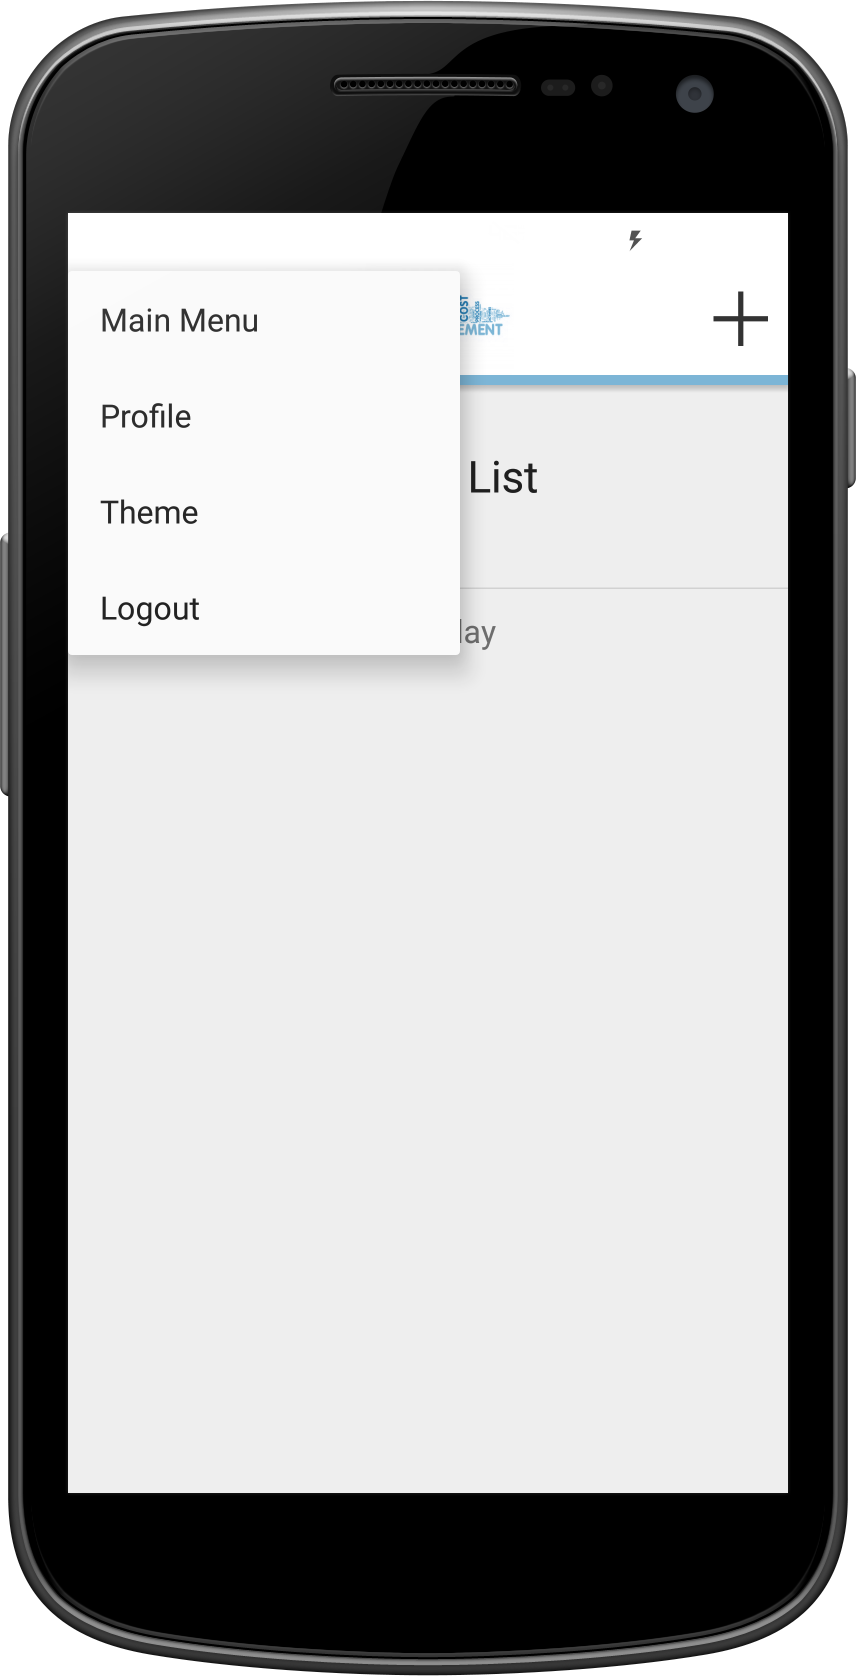
Settings Menu
The settings menu is accessible from nearly every activity. It contains a shortcut to the main menu, a direct link to the profile screen, a link to the theme options, and the ability to logout from anywhere in the application.
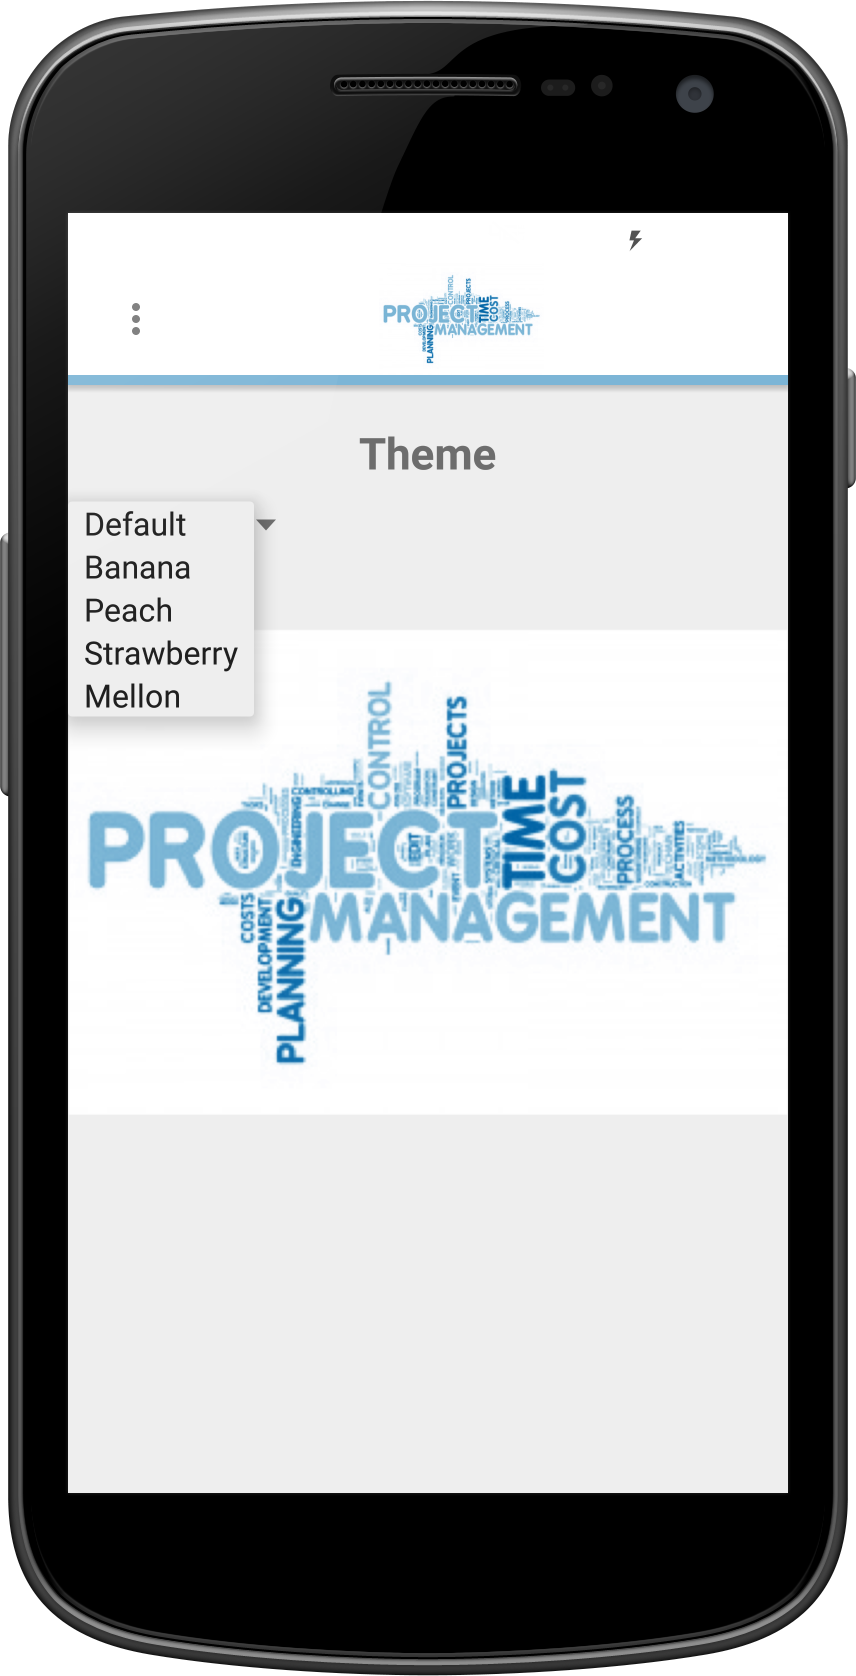
Theme Options
There are 5 themes that allow the user to customize the application to their liking. Each theme changes colors throughout the entire application to a user's preference.
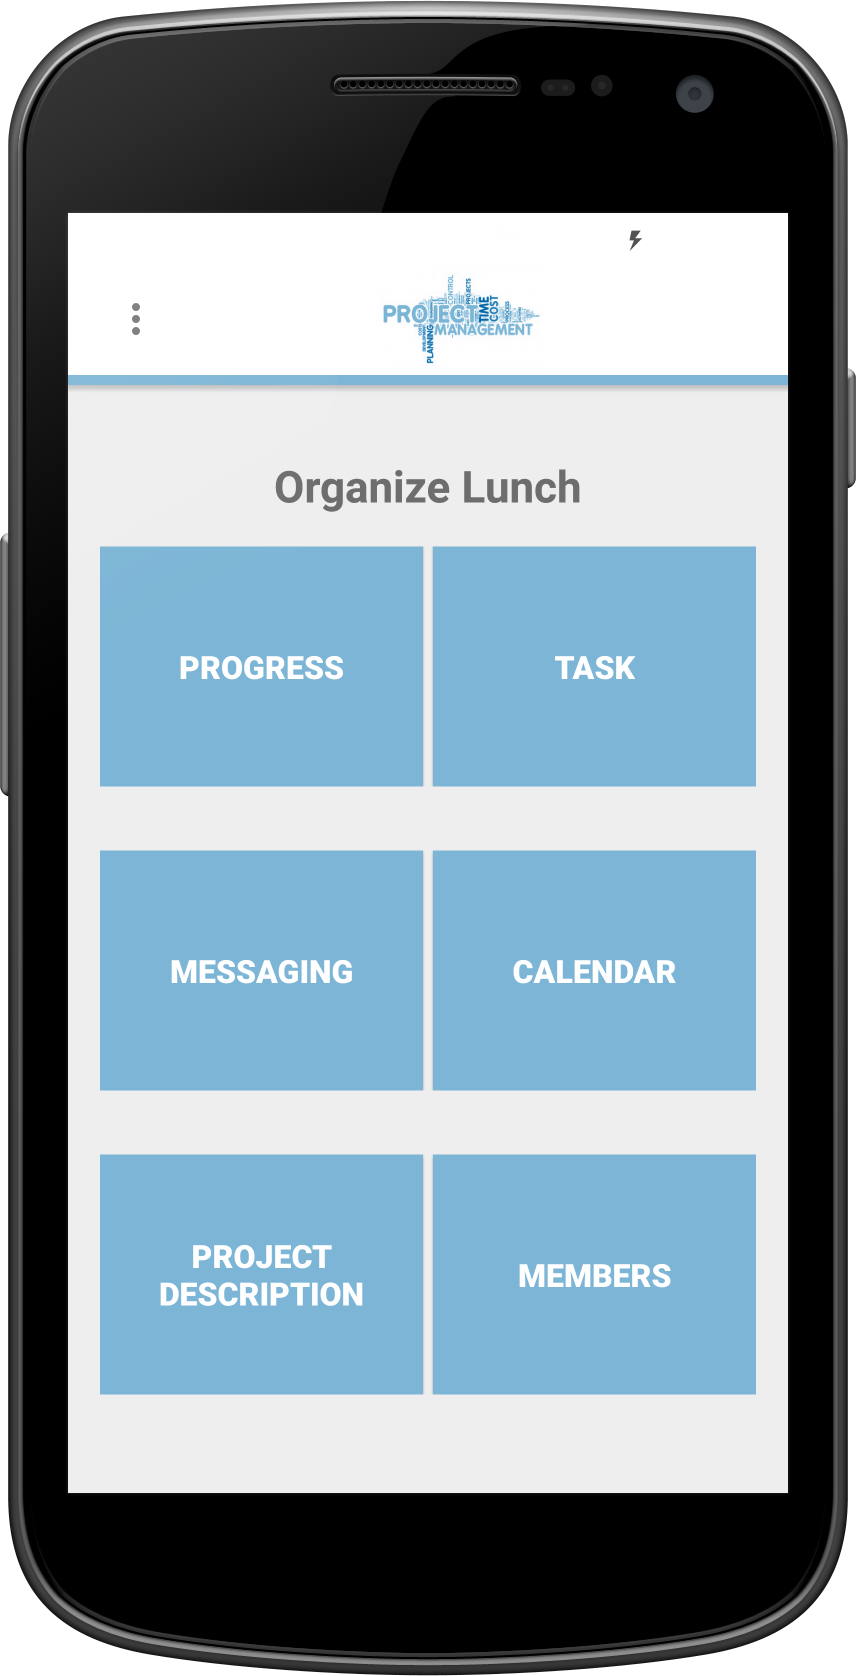
Member View
The main page of a project allows for 6 activities to be easily accessed by a user.
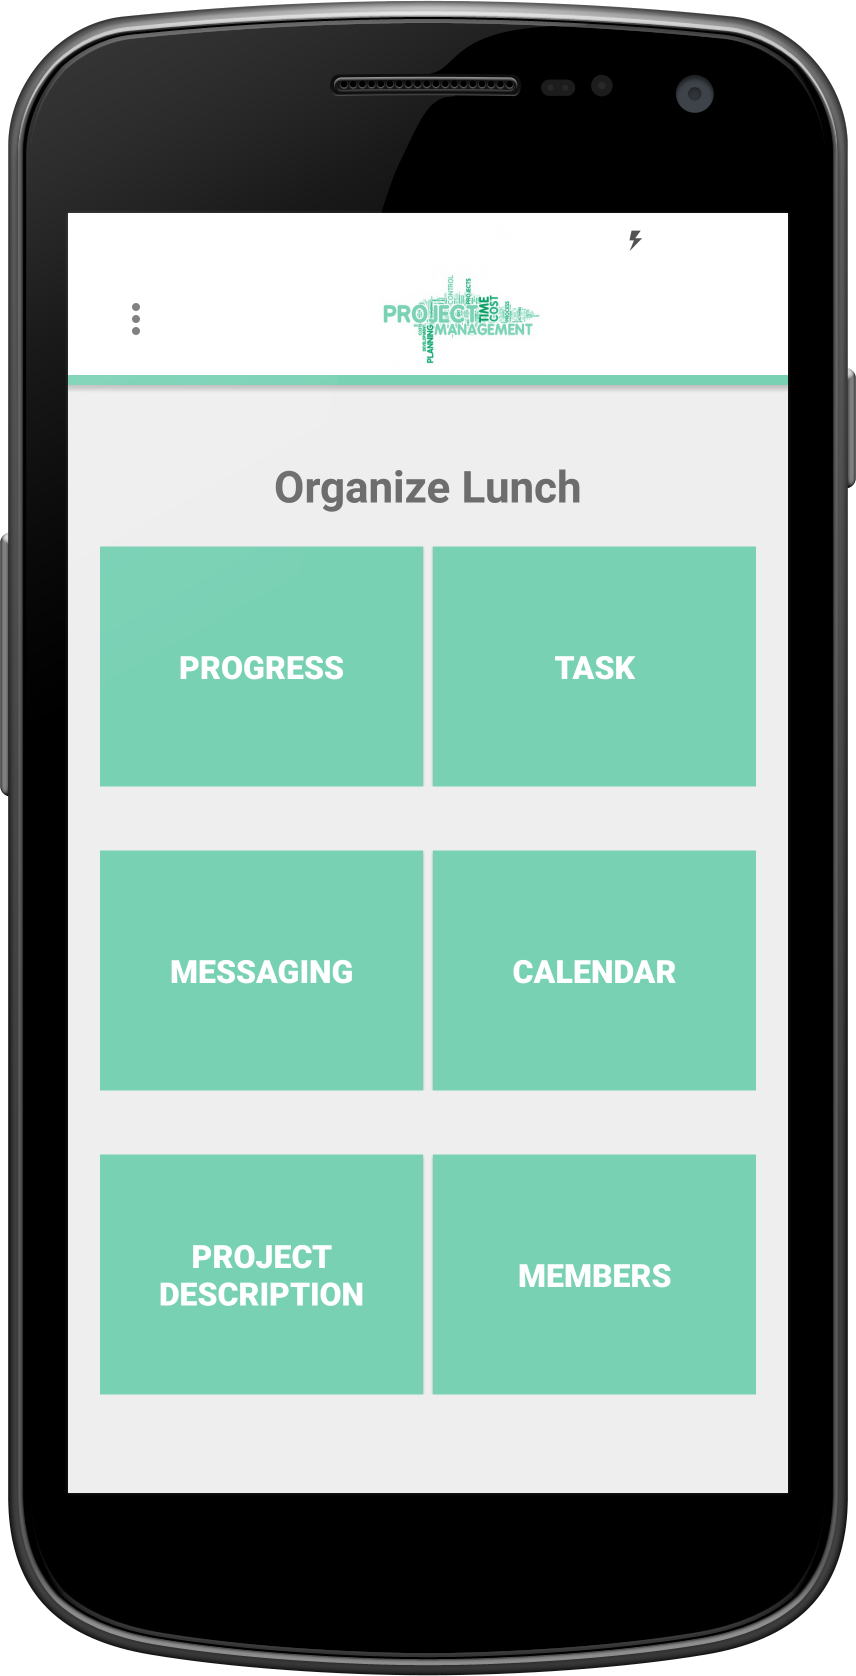
Member View (Theme Change)
An example of a theme change in one of the application's activities.
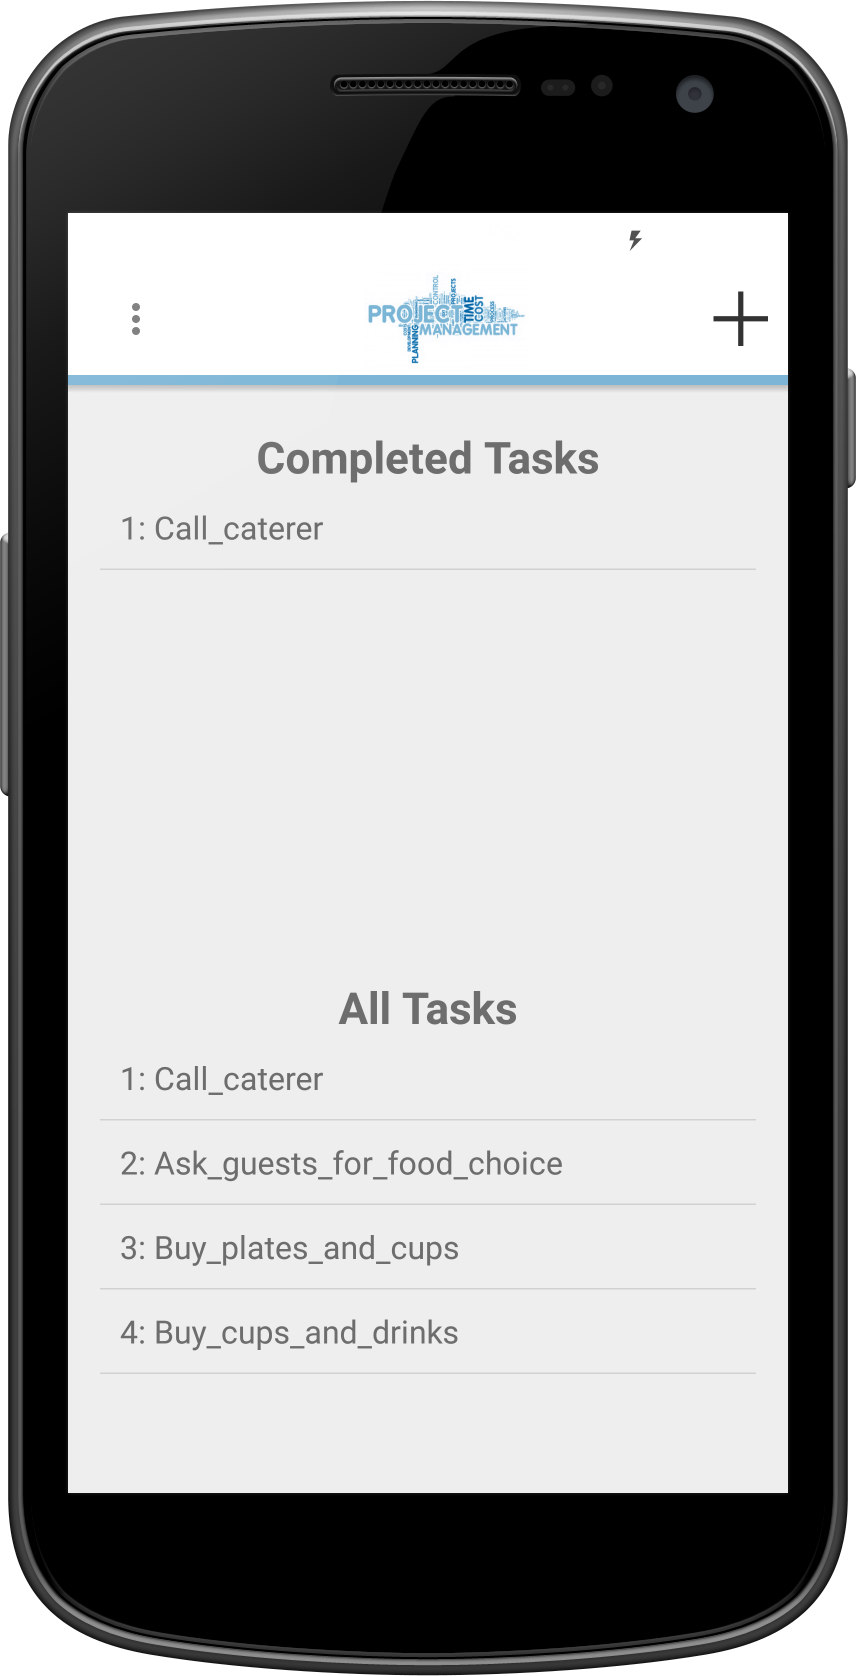
List of Tasks
This activity contains all of the tasks within a specific project. There is a special list that contains only completed tasks for quick review by project leaders. A leader can select the plus to create a new task.
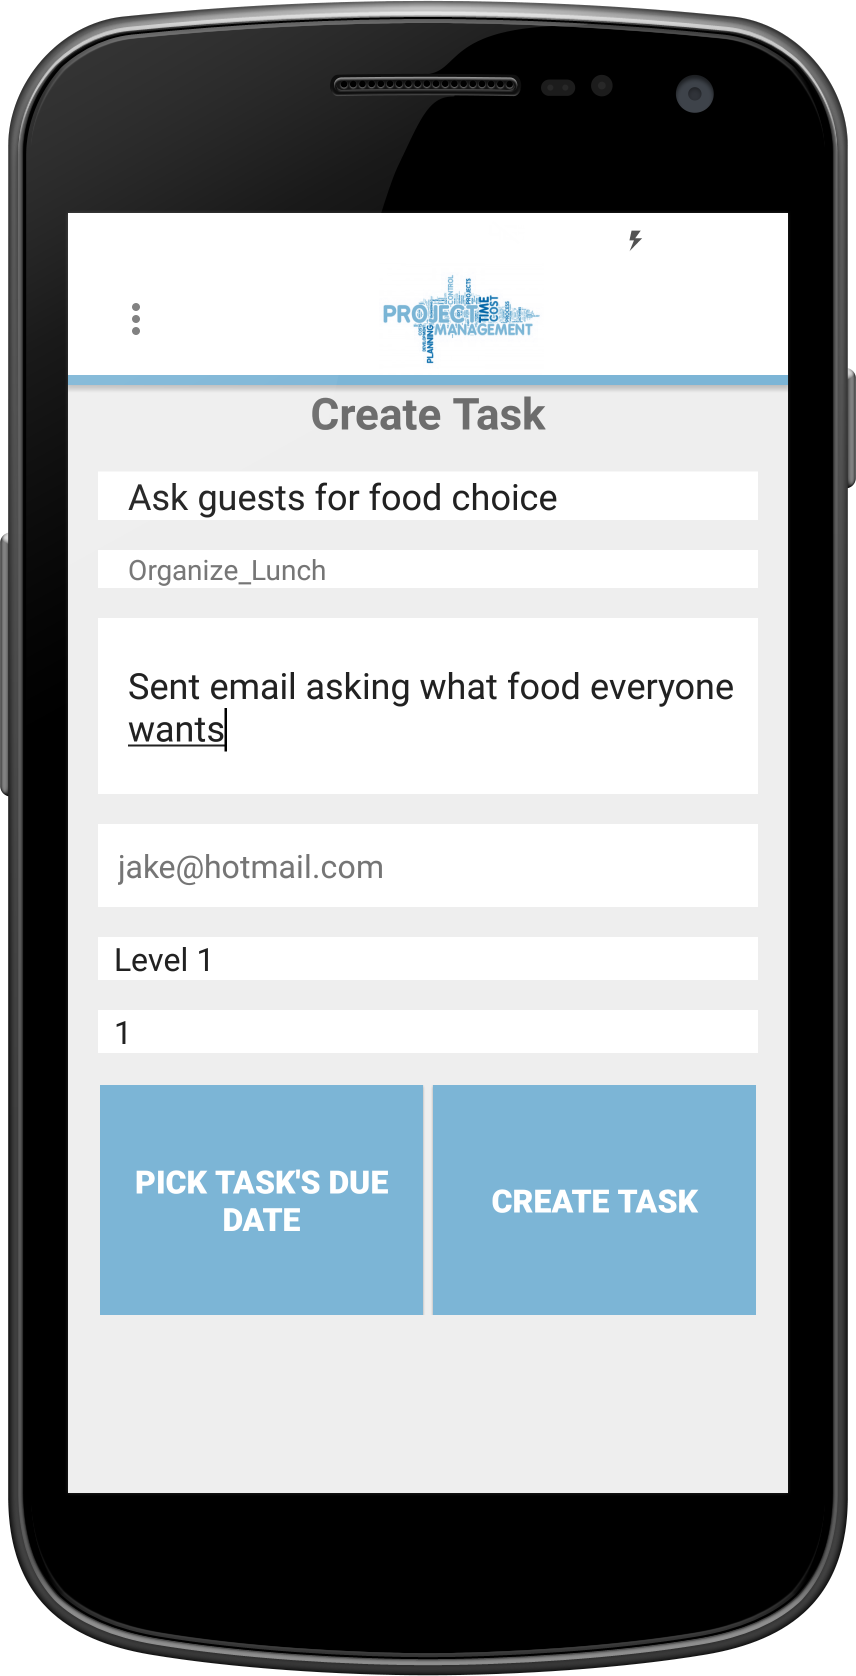
Creating Task
Creating a task is easy and intuitive. A user just has to fill out all of the fields and select create tasks to add a task to the project.
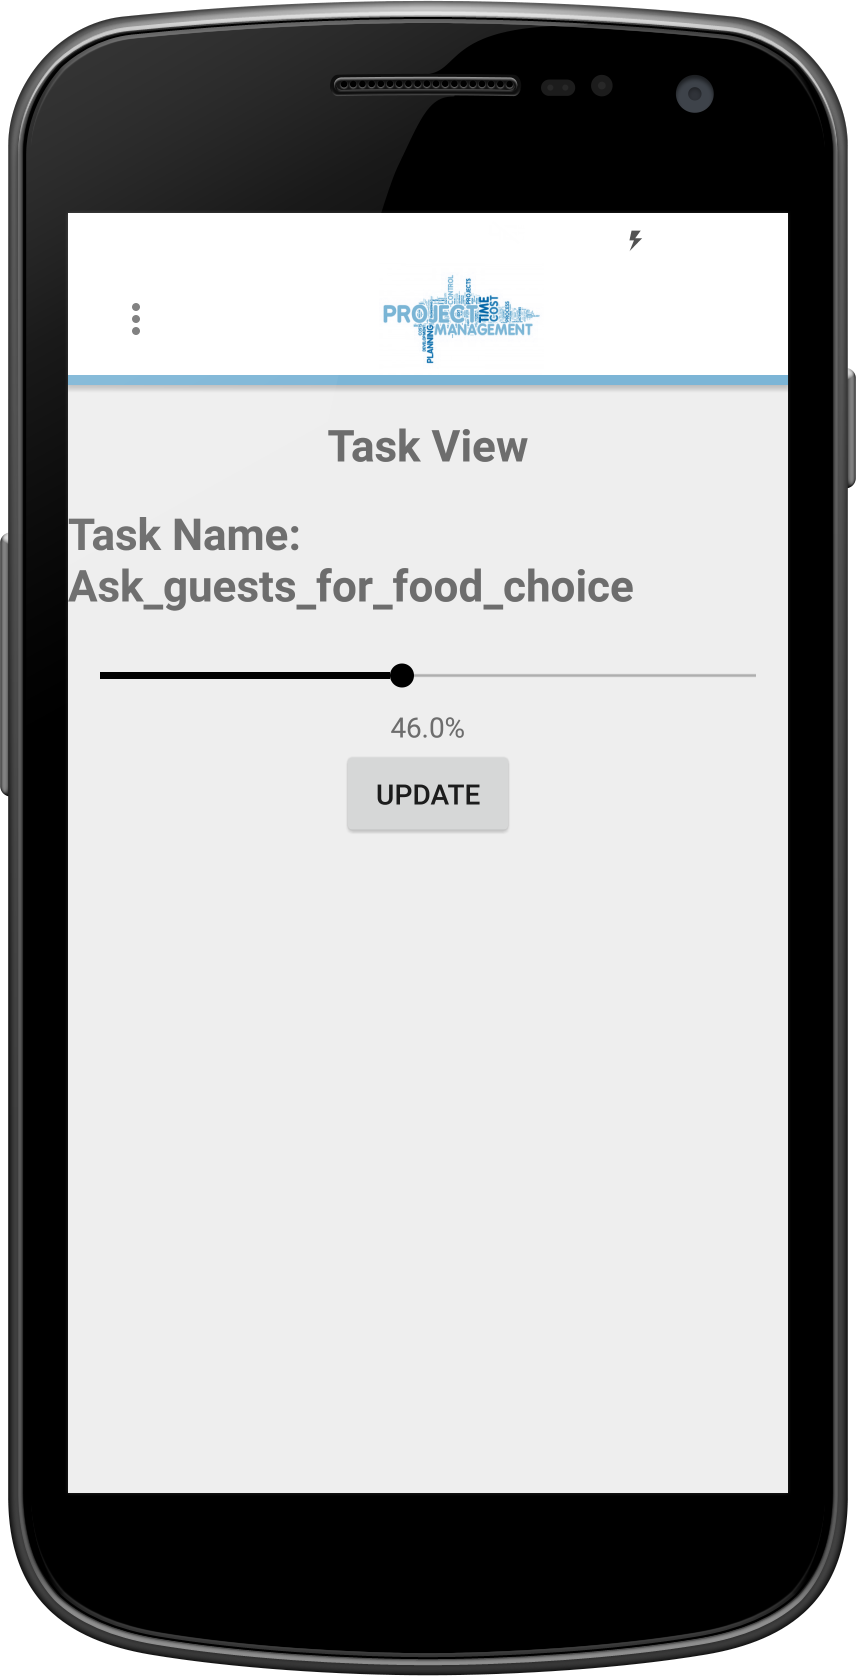
Setting Task Progress
Members can update task progress using a simple slider. Updating a task to 100% submits it and sends the task to the "Completed Tasks" list.
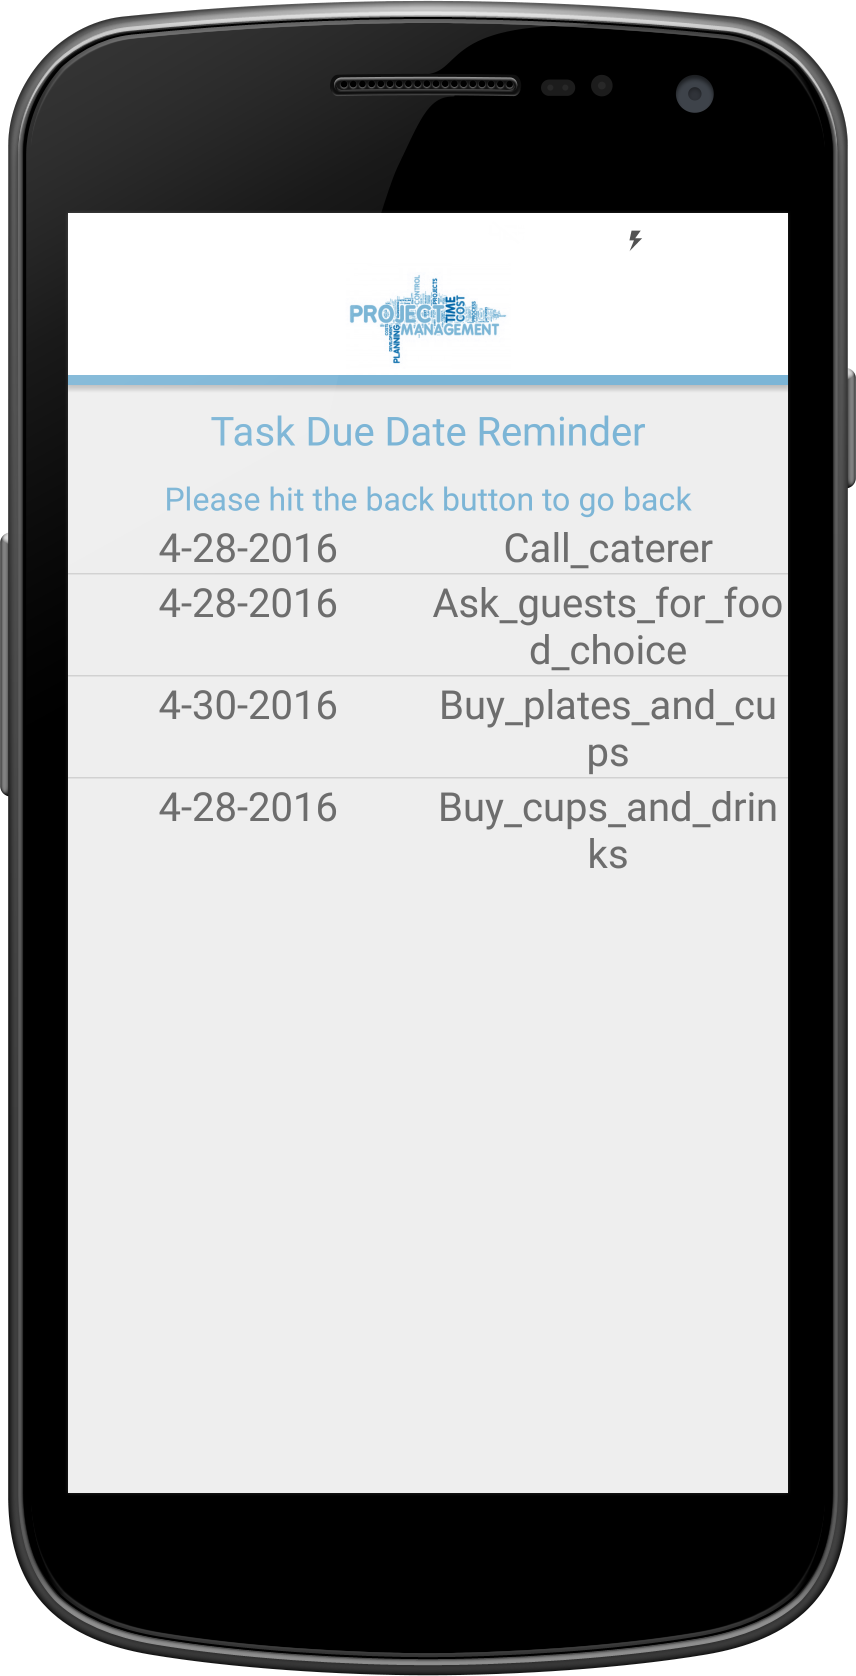
Task Reminder
Tasks with a due date within 5 days appear in the reminders page accessible through the calendar button.
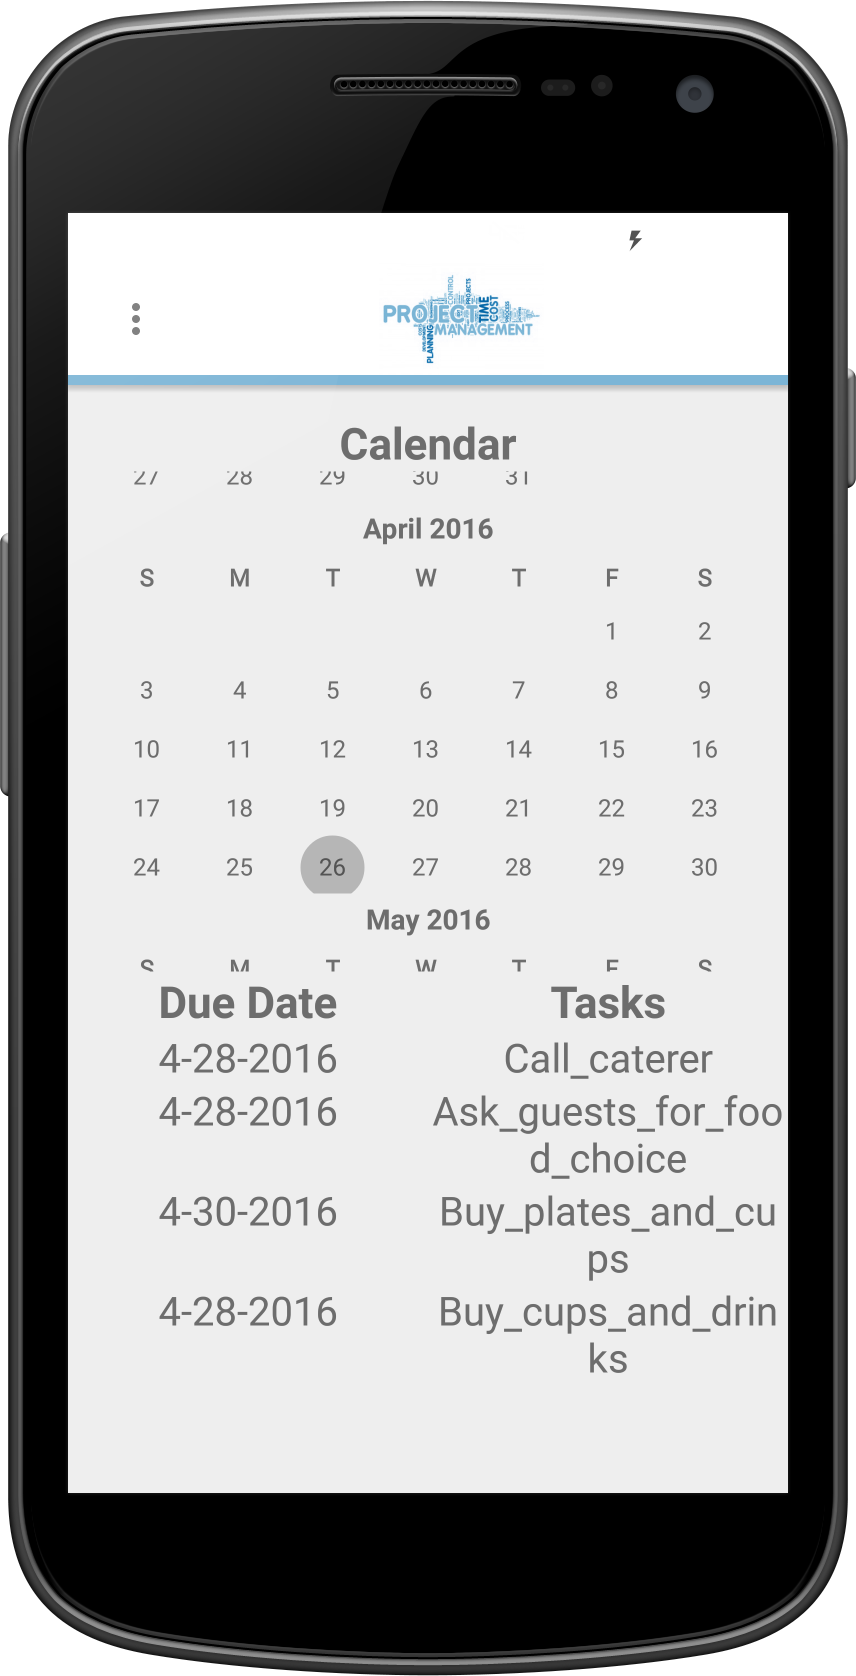
Project Calendar
Members and Leaders can review task due dates from the calendar screen with ease.
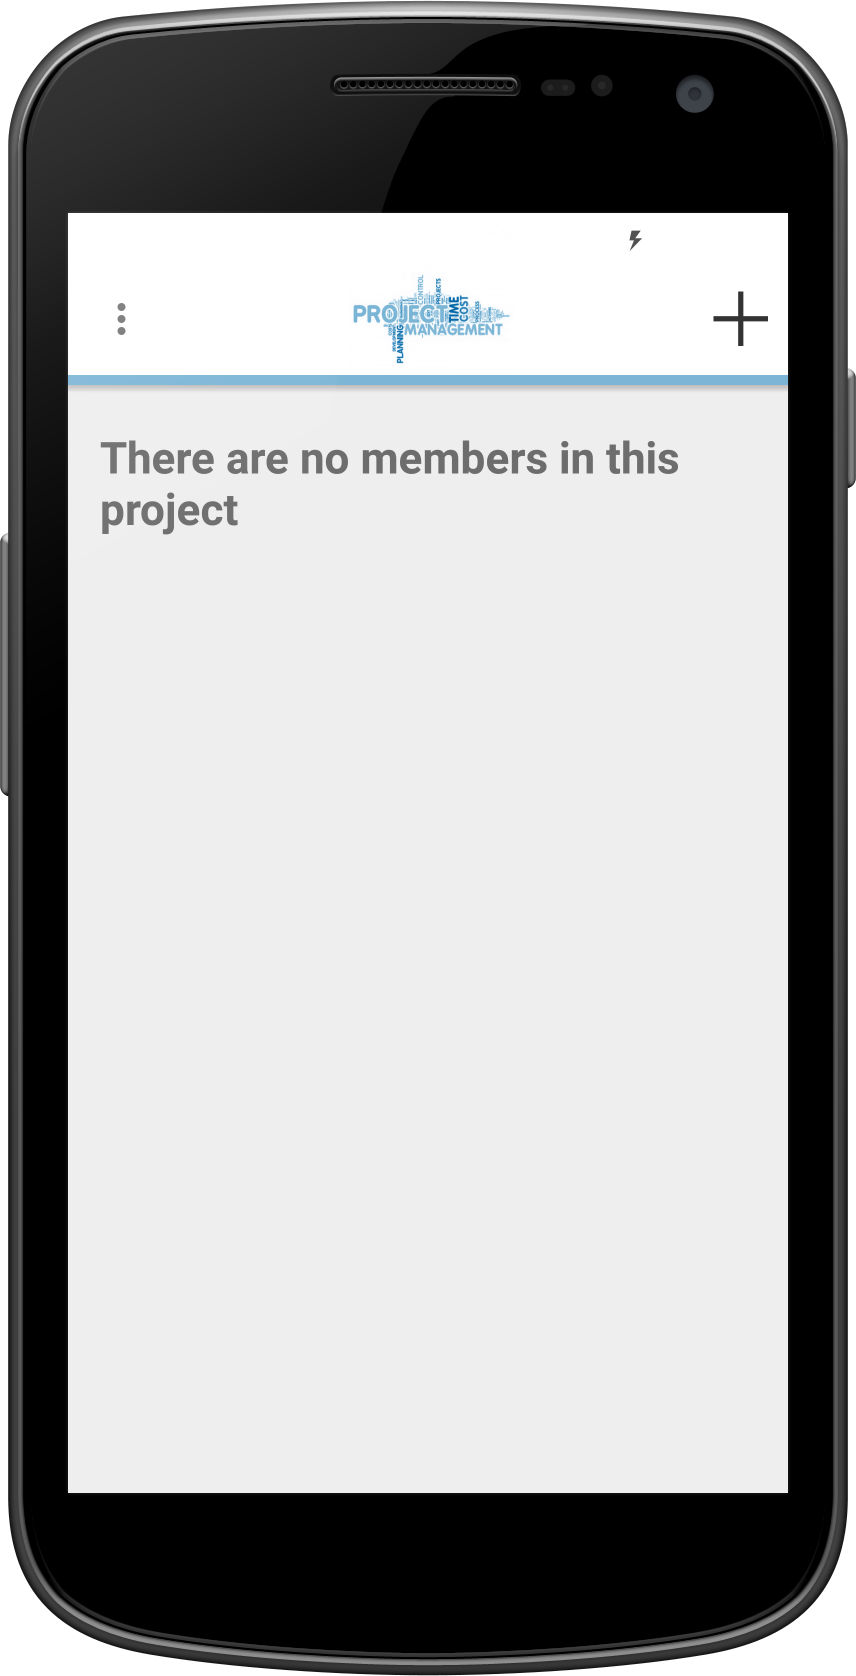
Empty Member List
New projects will contain no members, adding members is easy and is accessible by selecting the plus in the top right corner.

Adding Members to Project
In this screen, a leader or member can select another user and invite them using their Android email client to the currently opened project.
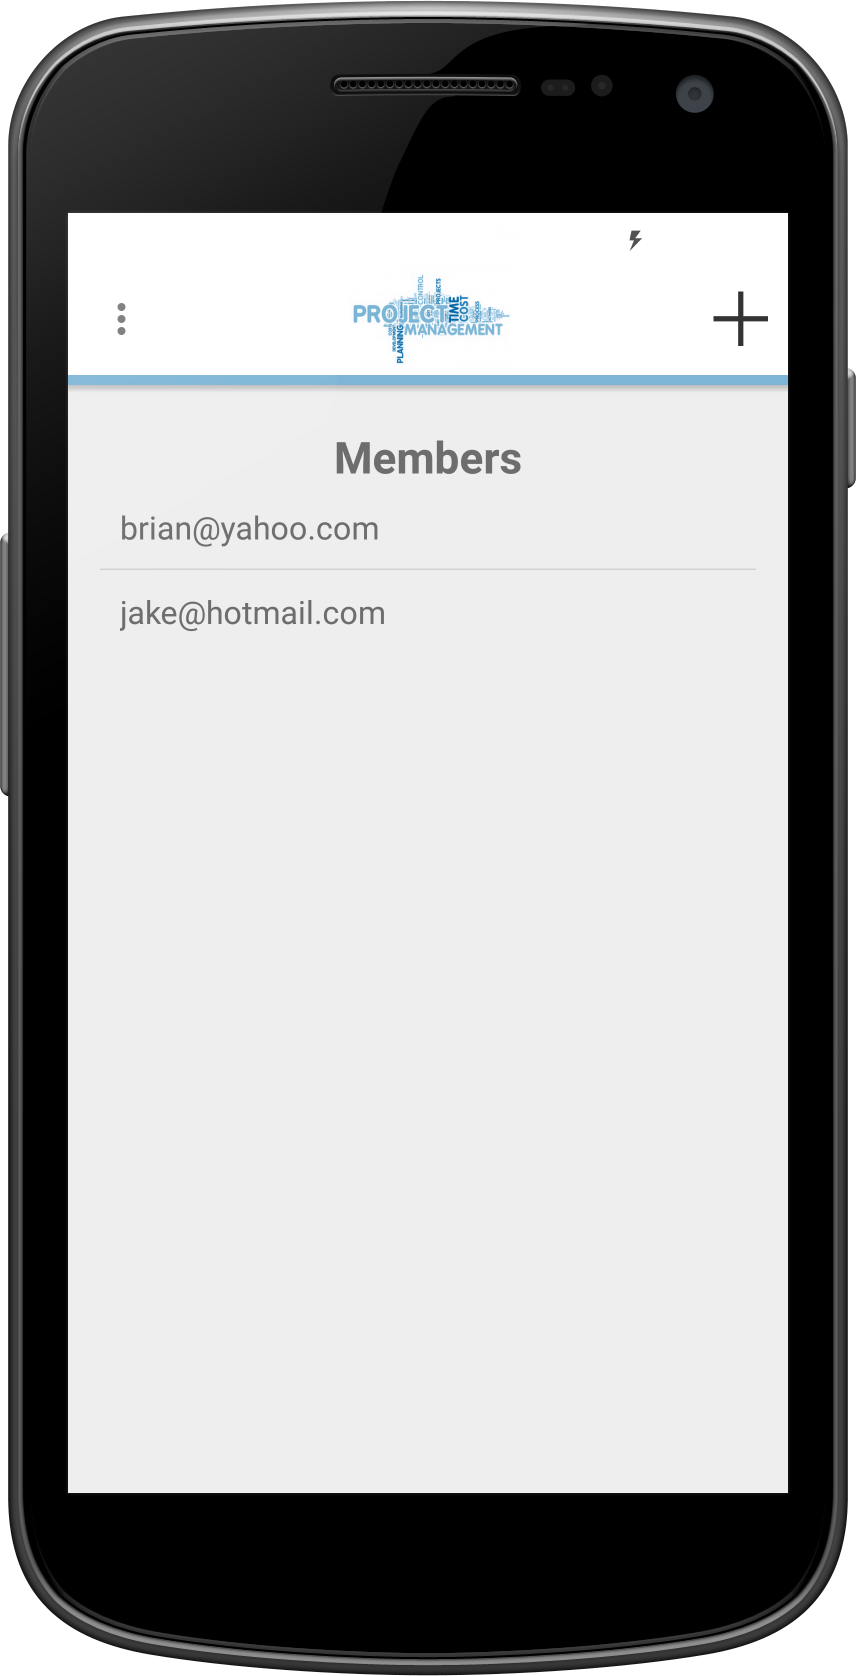
Project with Members
The member screen is accessible through the project menu and lists all of the members in the project. Selecting a member allows a user to view their individual task progress. Long-holding the user allows the project leader to remove them from the project.

Individual Member Progress
This screen shows a visual representation of the current completion and progress status of all tasks assigned to a specific member in the project.
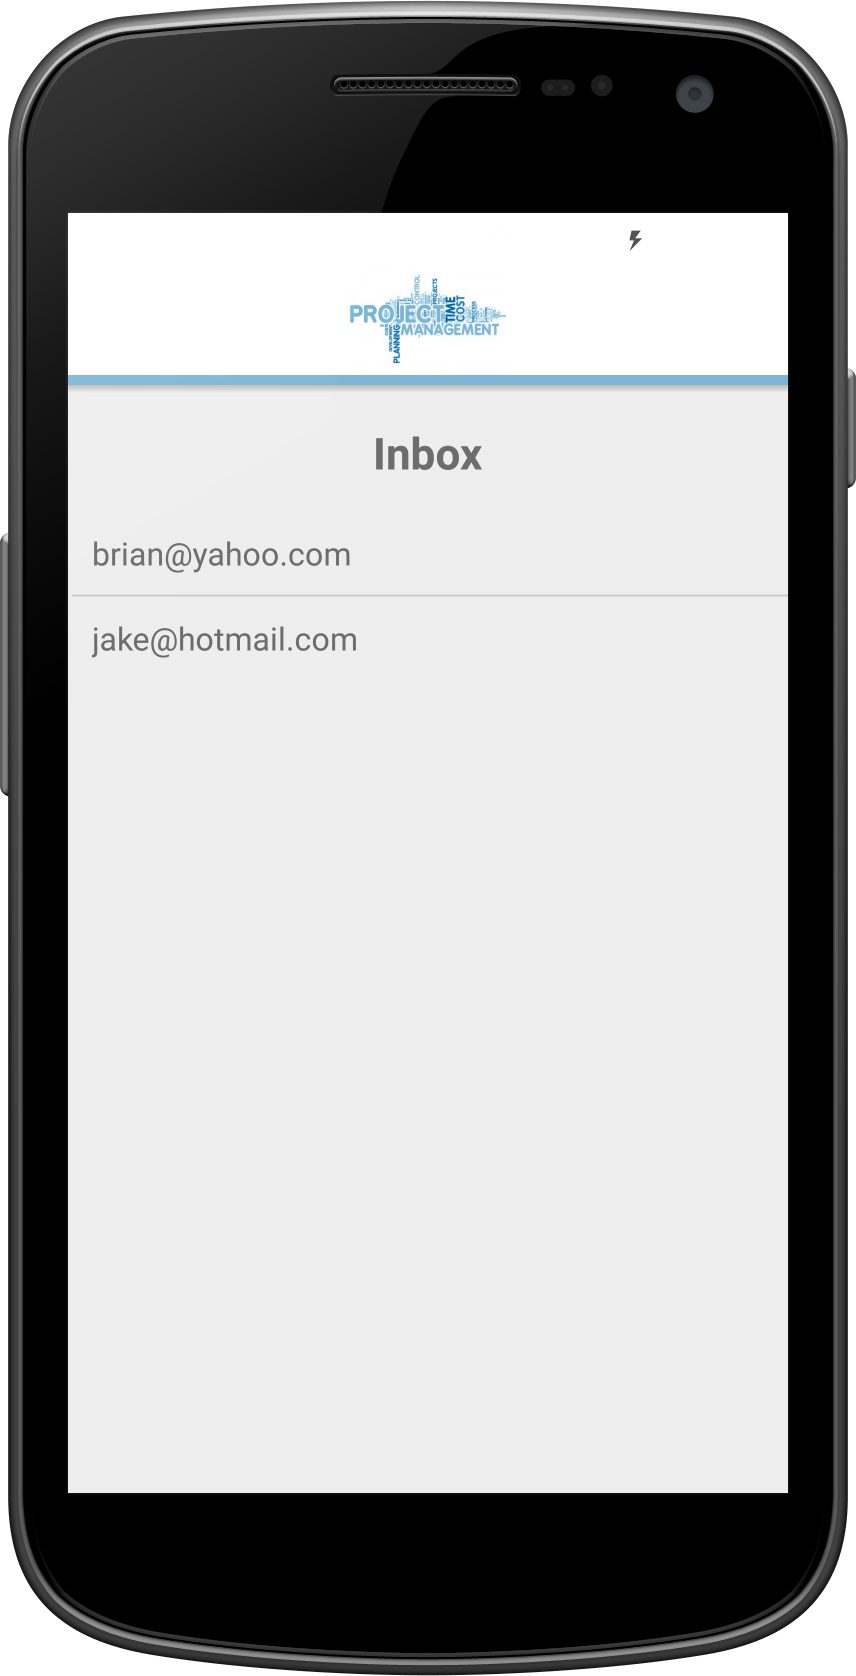
Message Inbox
Accessed from the Messaging button on the main screen, users can view their inbox and communicate with other project members.
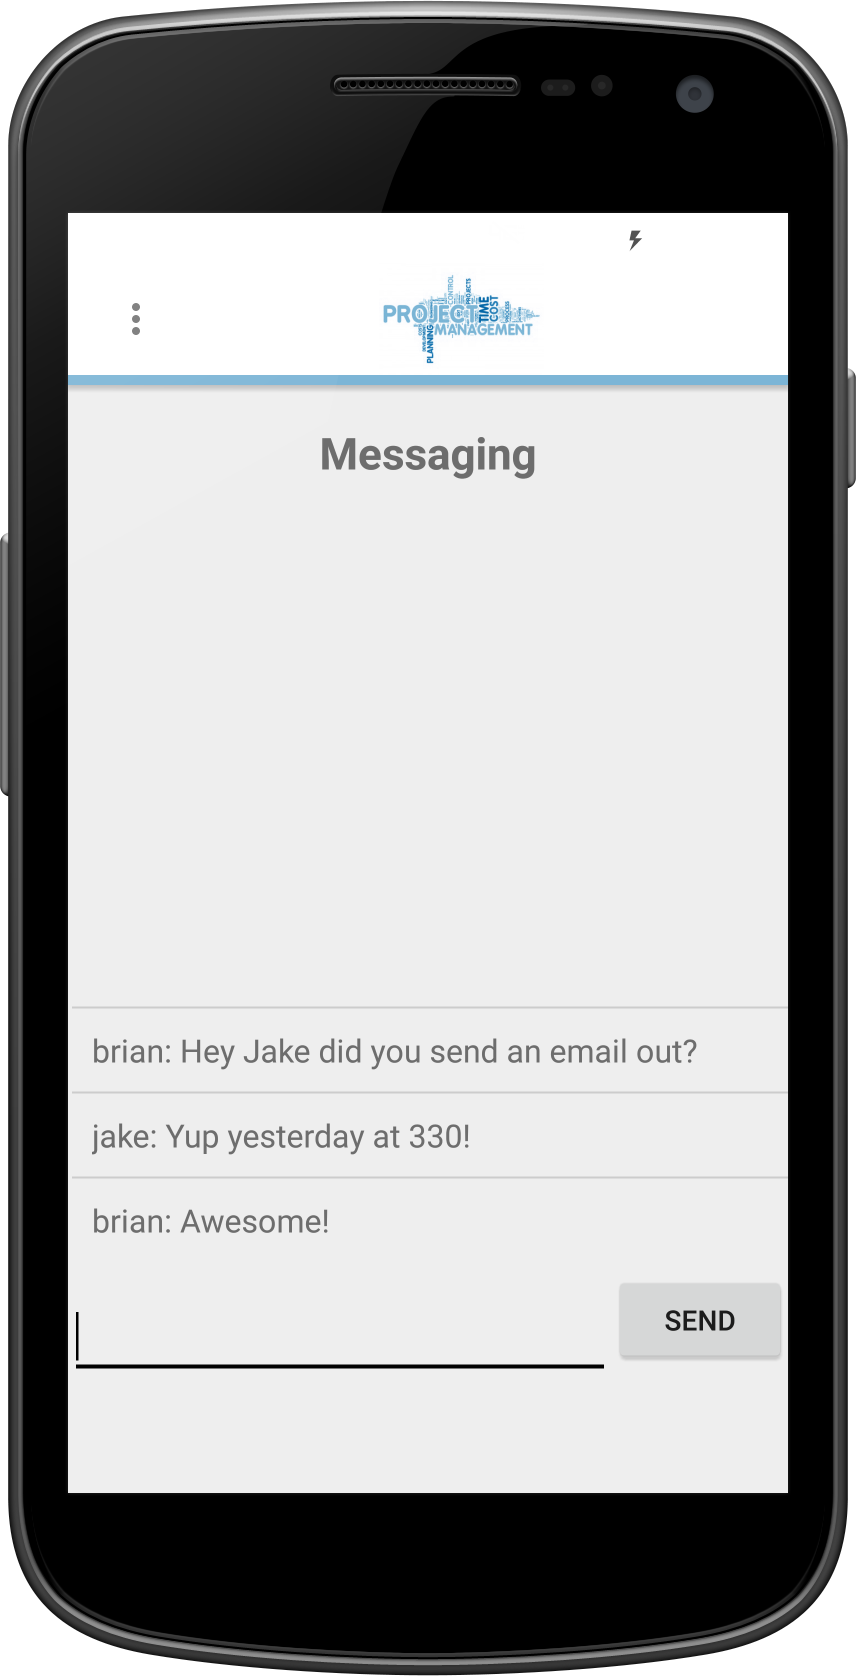
Internal Chat Client
The application contains a built-in chat client that allows for direct communication between two members of a project in real time.
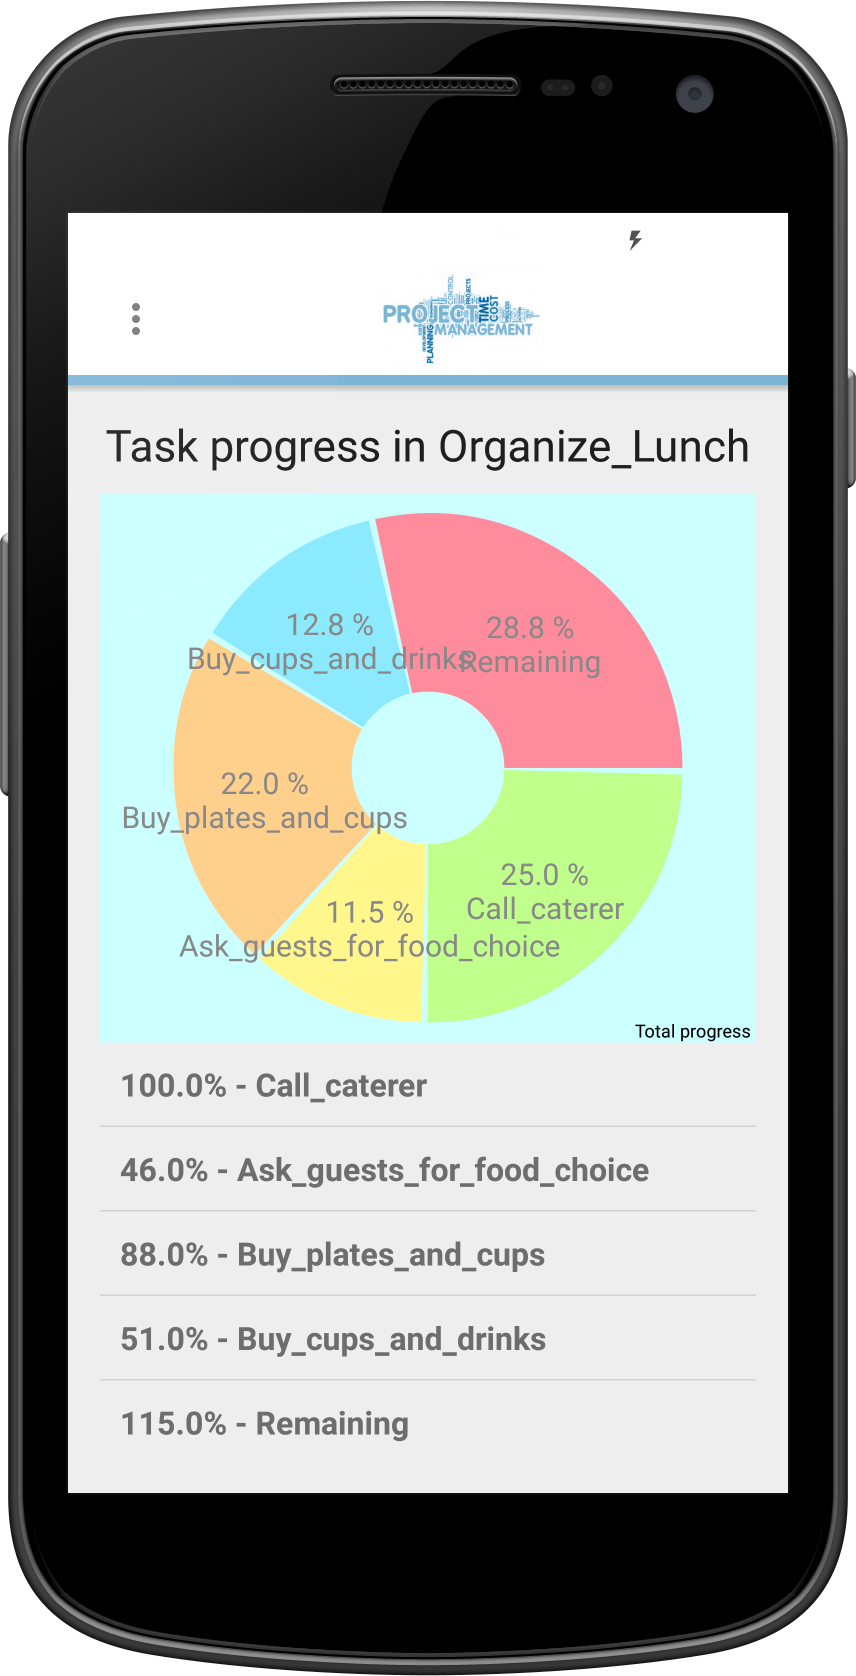
Total Project Progress
Accessible from the project screen, members and leaders can view the overall status of all tasks within a specific project member independent.